Use the Custom Report Manager to upload the prior year journal report file to Sage 200.
Open: Settings > Organisational and Financial > Custom Report Manager.
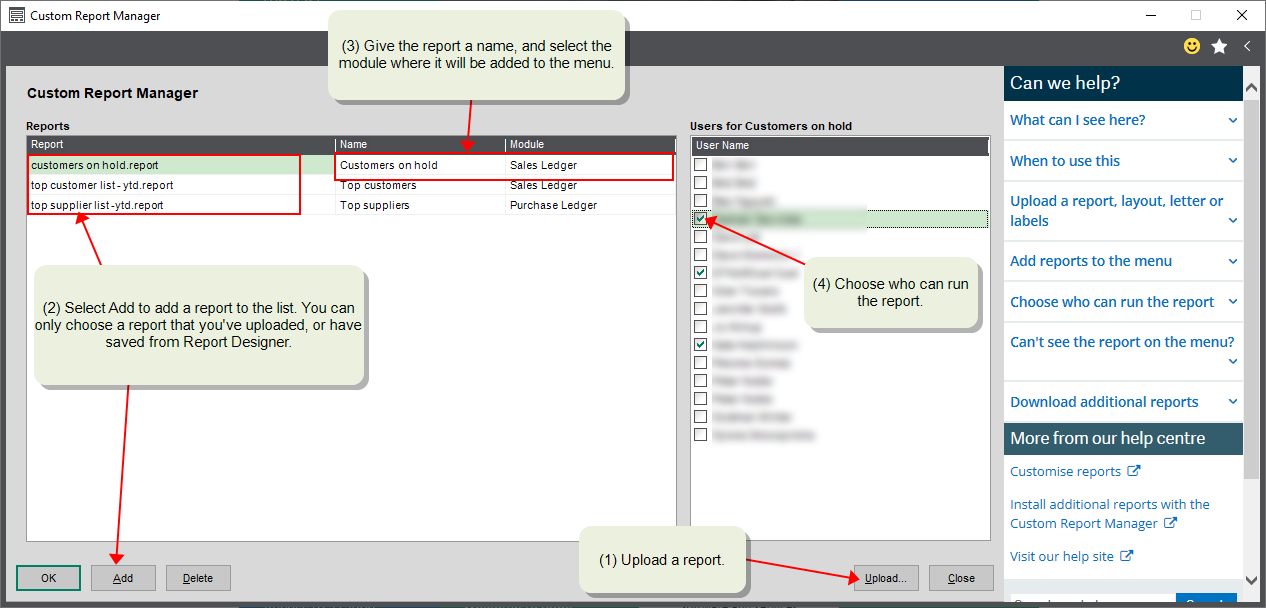
1. Click Upload.
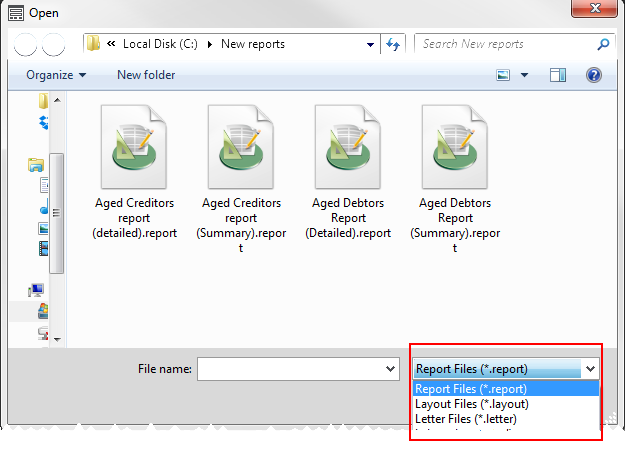
2. Browse to where the report is saved.
3. Click Open.


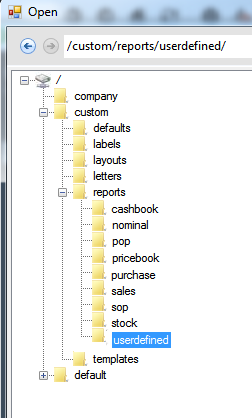
The report is uploaded to the following location: Custom > Reports > UserDefined in Report Designer.
To run the report from Sage 200, you’ll need to add it to the menu.
Add a report to the menu
Before you can run the report from Sage 200, you need to add it to the menu and then decide which users can access the report.

You must upload a report first
1. Click Add to add a new line.
2. In the Report column, select your uploaded report from the list.
3. Enter the Name to use for the report in the Sage menu.
4. In the Module column, select where the report will be located in the Sage menu. For example, if you select Nominal Ledger the report will be included in the nominal menu, in Nominals > Custom Reports.
5. Click OK.
6. Close and open Sage to see the report on the menu.
The selected report is added to the menu in a folder called Custom Reports.
Note: Only users in the selected role(s) can see and run the report
Choose who can run the report
1. Select the report from the list.
2. Choose the required users from the list of users.
3. Click OK.


